With 2 billion active users, it would come as no surprise that WhatsApp is the most popular communication app.
WhatsApp is an app that not only allows people to chat but also send multimedia content. Besides that, WhatsApp now also allows users to share location and even money.
Businesses soon realized the marketing potential of this app. They quickly adapted to platforms like the WhatsApp Business app and WhatsApp API.
Even if you’re not a business-owner, wouldn’t it be great if you could remind people of events and send birthday messages at the right time?
Well, WhatsApp has got you covered. You can even schedule WhatsApp messages!
A scheduled WhatsApp message; doesn’t that sound too good to be true? Moreover, you can do this quite easily. In this article, we will explore how to schedule messages on WhatsApp.
Ideally, two groups of users want to plan WhatsApp messages:
1) WhatsApp Users
2) Users of WhatsApp for Business
Let’s take a look at how to schedule WhatsApp messages on each WhatsApp platform for every type of WhatsApp user.
How To Schedule WhatsApp Messages On Your Android
Tired of forgetting to send important WhatsApp messages on time? With the Skedit app, you can easily schedule messages on your Android in advance.
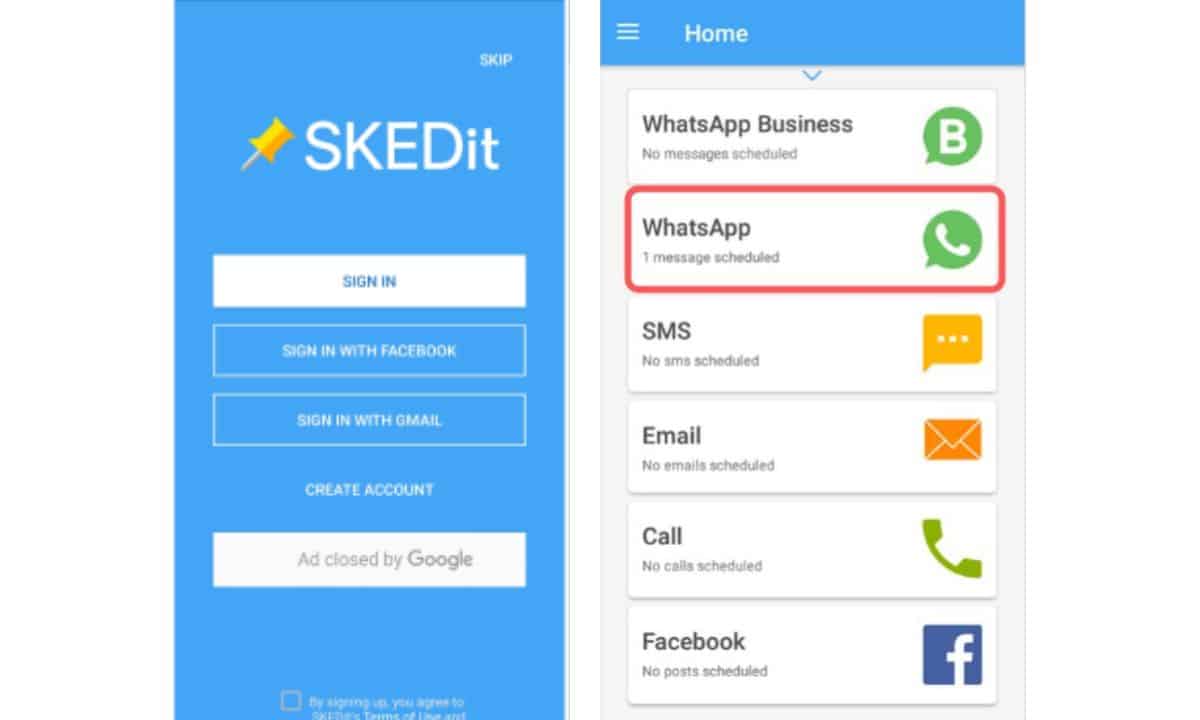
Here’s how to schedule WhatsApp messages using Skedit in six simple steps:
Step 1 – Install Skedit
Start by visiting the Google Play Store on your Android device. Search for ‘Skedit’ and install the app. Once it’s installed, open the app and proceed to the next step.
Step 2 – Grant Permissions
Upon opening Skedit, you’ll be asked to grant various permissions, including access to your contacts and notifications. These permissions are necessary for Skedit to function properly, so be sure to grant them.
Step 3 – Select WhatsApp
Skedit supports various messaging apps, but for scheduling WhatsApp messages, you’ll need to select WhatsApp from the list of supported apps within Skedit.
Step 4 – Compose Your Message
Now, it’s time to compose your WhatsApp message. You can type your text, add emojis, or even attach media like photos or videos. Once your message is ready, proceed to the next step.
Step 5 – Choose the Recipient and Schedule Time
Select the recipient from your contact list. After that, pick the date and time when you want the message to be sent. Skedit will ensure your message reaches the recipient at the scheduled time.
Step 6 – Save and Confirm
After setting the recipient and schedule, click the “Save” or “Confirm” button, depending on the app version. Skedit will store your scheduled message, and you can review all your scheduled messages in the app to make any changes or cancel them if necessary.
How to Schedule WhatsApp Messages On Your iPhone
Apple claims to be extremely cautious about users’ privacy. However, Siri does allow some shortcuts for you to schedule messages in WhatsApp.
Here’s how to schedule WhatsApp messages from an iPhone:
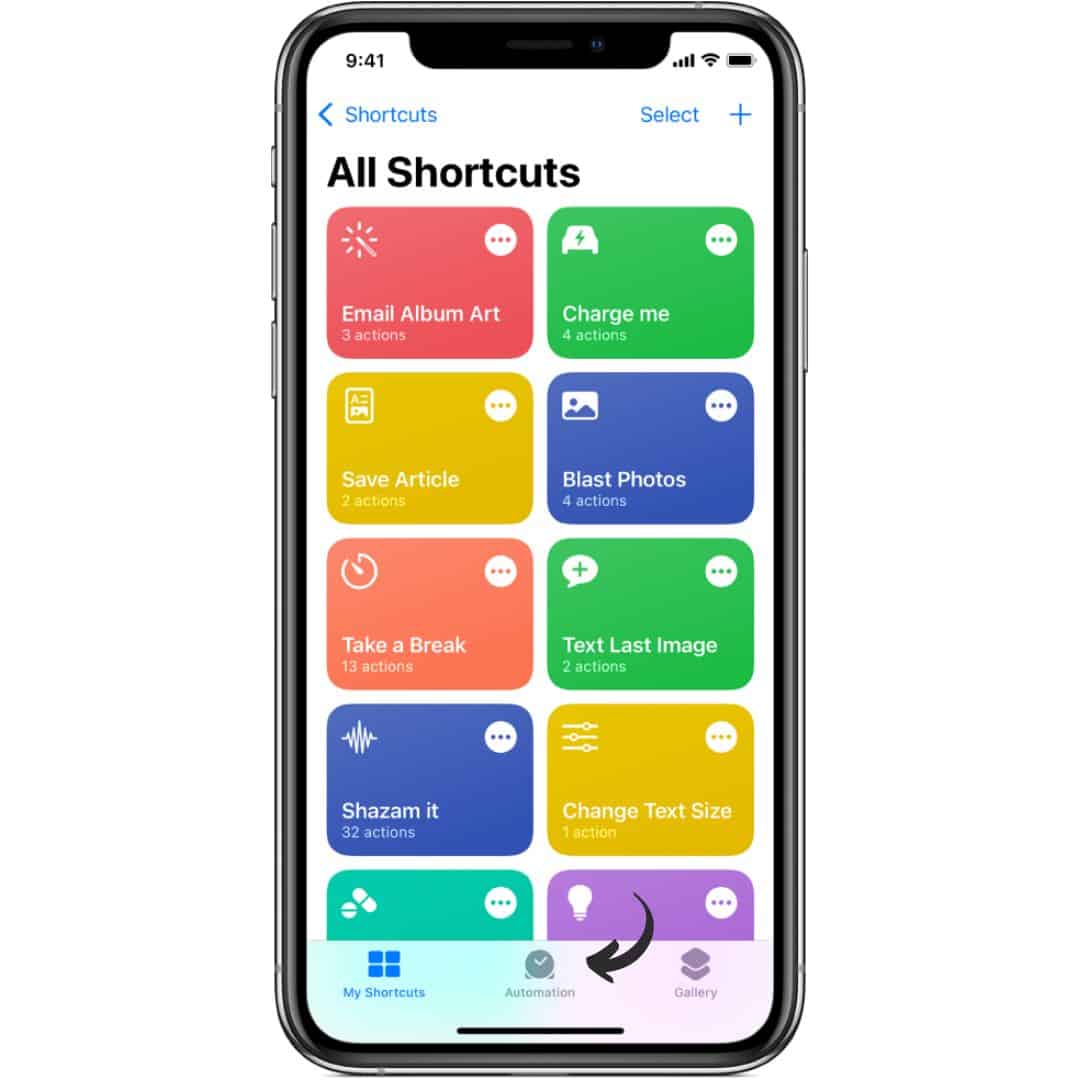
Step 1 – Install ‘Shortcuts’ App from App Store
First, you need to search the App store and install the app named ‘Shortcuts’ from there. Choose Automation as soon as you open the app.
Step 2 – Create Personal Automation
You will find a “+” sign in the top right corner after you open the app. There, you have to tap on “create personal automation”
Step 3 – Select Date and Time
To Schedule messages in WhatsApp, you need to pick a date and time. Then you need to tap on “next”
Step 4 – Add Text Action
After you do this, you will find an “Add option” tab. Later, you have to search ‘Text’ on the search bar and select ‘Text’ when the search results show up.
Step 5 – Write your WhatsApp message
Type your Scheduled WhatsApp message and tap the icon shaped like “+”. Type “WhatsApp” when a pop-up search bar appears.
Step 6 – Send Message Through WhatsApp
When you see the dropdown menu appear, select the option saying “Send Message Through WhatsApp”. Lastly, select the contact for whom you scheduled messages in WhatsApp. Then, move to ‘Next’ and finally click ‘Done’.

How to Schedule WhatsApp Messages on WhatsApp Web
It’s quite simple to schedule WhatsApp messages on the WhatsApp web. If you mostly operate from your desktop, you’ll need to learn how to schedule messages in WhatsApp.
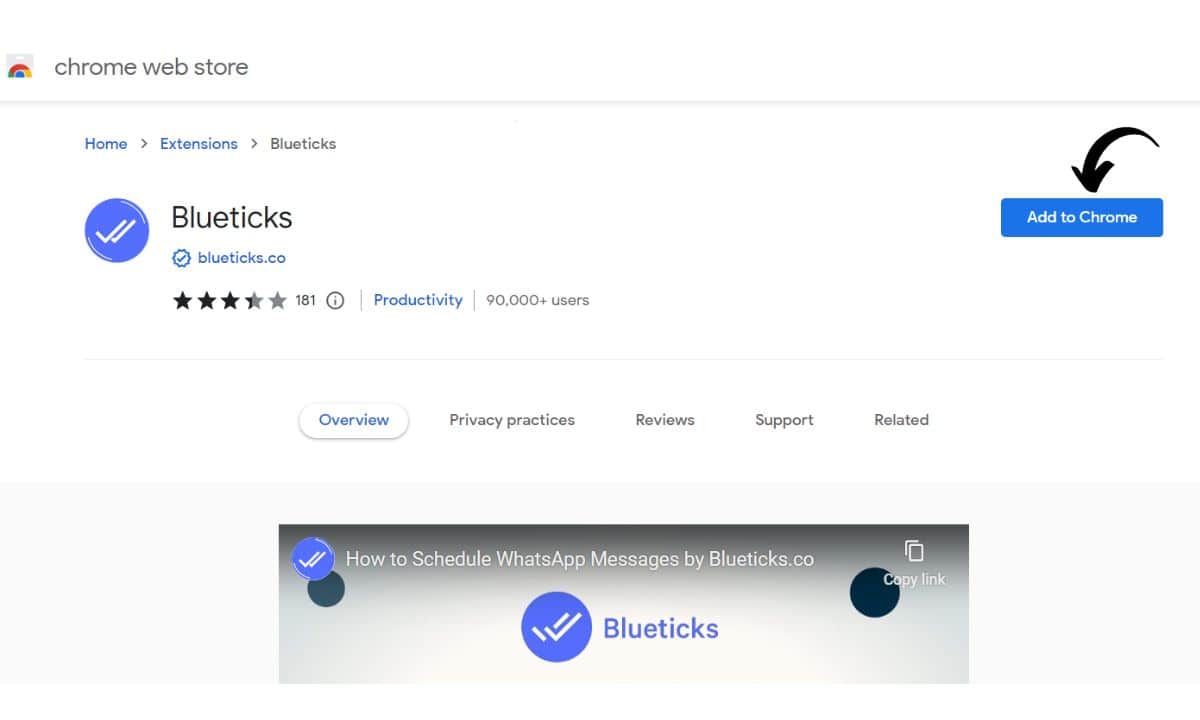
Let’s examine how to create a scheduled WhatsApp message using the Bluetick Chrome extension.
Step 1 – Install Blueticks from Chrome Web Store
From the Chrome Web Store, install Blueticks.
Step 2 – Open WhatsApp Web in Google Chrome
Now you need to open WhatsApp Web from your Google Chrome browser
Step 3 – Choose Contact or Chat
Select and open a contact, group chat or normal chat to whom to send scheduled WhatsApp messages.
Step 4 – Access WhatsApp Scheduler Window
Next to the message box, you will find an icon which will lead you to the WhatsApp Scheduler window.
Step 5 – Compose Message and Set Date/Time
Type the scheduled WhatsApp message that you want to send. Then, select the date and time.
Step 6 – Schedule Your WhatsApp Message
Lastly, select “Schedule send”.
Android, iPhone and WhatsApp Web are generally the ways through which normal users schedule messages in WhatsApp. If you’re a business owner, we have listed the ways you can send Scheduled WhatsApp messages too.
How to Schedule WhatsApp Messages on the Business App
If you’re a business owner who’s handling a large customer base, you might not be available all the time.
As such, you need to let people know that you will attend to them soon. This is the reason it’s important that you schedule messages on WhatsApp.
Here’s how to schedule messages in WhatsApp on the Business App:
Step 1 – Open WhatsApp Business App
Open the WhatsApp Business app on your phone.
Step 2 – Access ‘Business Tools’ in Settings
Go to the ‘Settings’ in the app and select ‘Business Tools’.
Step 3 – Enable ‘Send Away Message’
Choose ‘Select Away Message’ and turn the toggle on ‘Send Away Message’.
Step 4 – Type Your WhatsApp Message
To schedule messages in WhatsApp, you have to type in the text in the given field.
Step 5 – Choose Recipients For Your Message
Turn the toggle on for ‘Send Away Message on WhatsApp Business’. Choose ‘Only Send to’ and select the contacts to whom you want to send scheduled WhatsApp messages.
Step 6 – Tap ‘Schedule’ to Confirm
Finally, tap on ‘Schedule’.


Call Smarter,
Close Faster!
Close Faster!
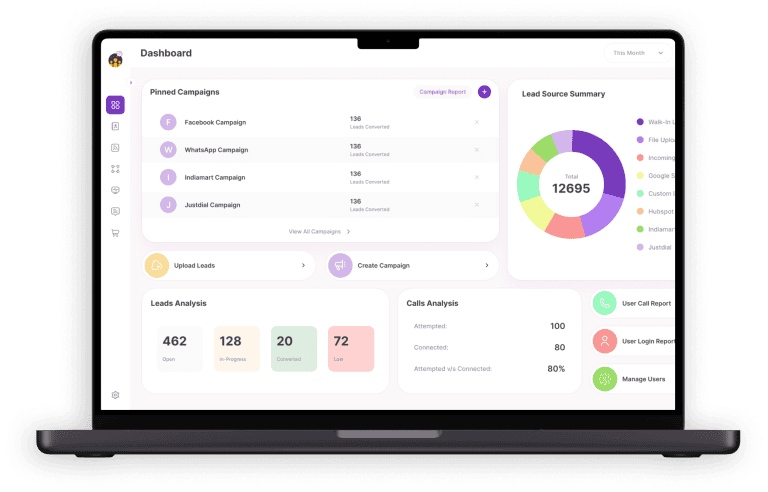
100% Lead Capture, 75% More Efficiency, 2X Engagement!
Stop Wasting Time On Dialing!
Book a free demo and see how you can close more deals, faster!
Still using Excel sheets Switch to NeoDove
95% business who use NeoDove report 3x more profits!
50,000 +
Happy Customers
4.8
107k reviews
![]()

Stop Wasting Time on Manual Dialing!
Book a free demo and see how you can close more deals, faster!
![]()


Still using Excel sheets Switch to NeoDove
95% business who use NeoDove report 3x more profits!
50,000 +
Happy Customers
4.8
107k reviews

Are you Still using Excel sheets for Manual Telecalling?
These outcomes and beyond can be yours.
0%
Lead Leakage
200%
Increase in call attempts
3x
More Engagement